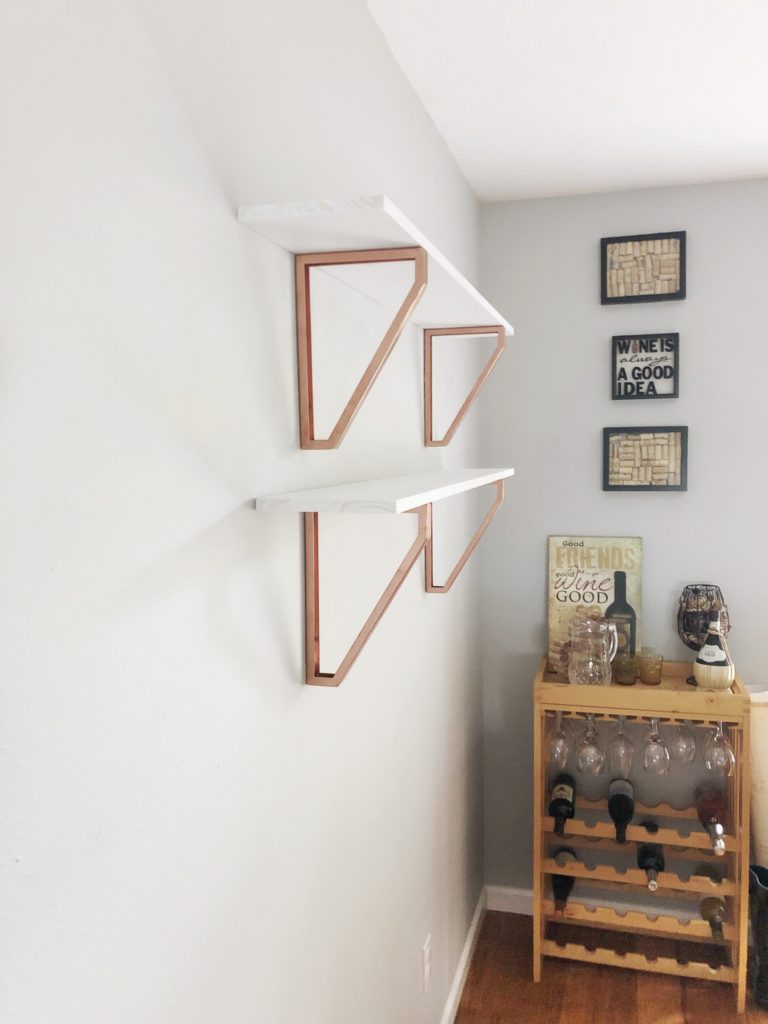
These are the shelves I have been dreaming about since we moved into our new house. I could not find them anywhere so I naturally decided to DIY it and I bet you will never guess how inexpensive they were to make.
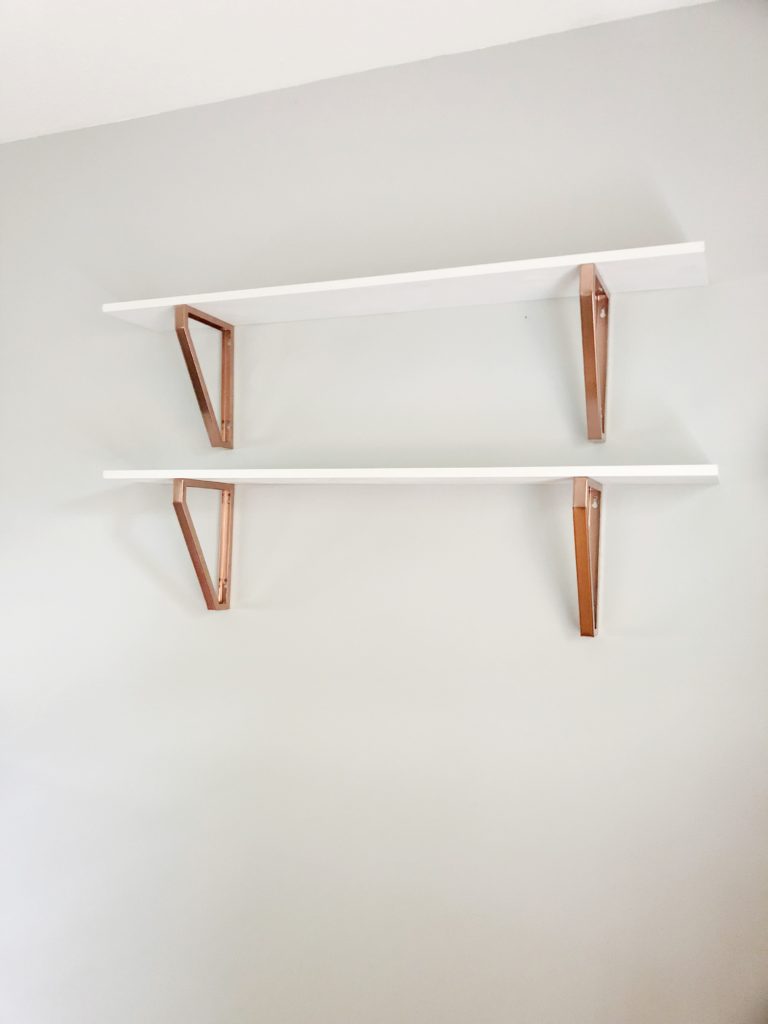
They are chic, glam and yet a tad bit rustic. I mean look at these beauties ! arent they just the best??
This post contains affiliate links. For further information, please visit our Disclosure page.
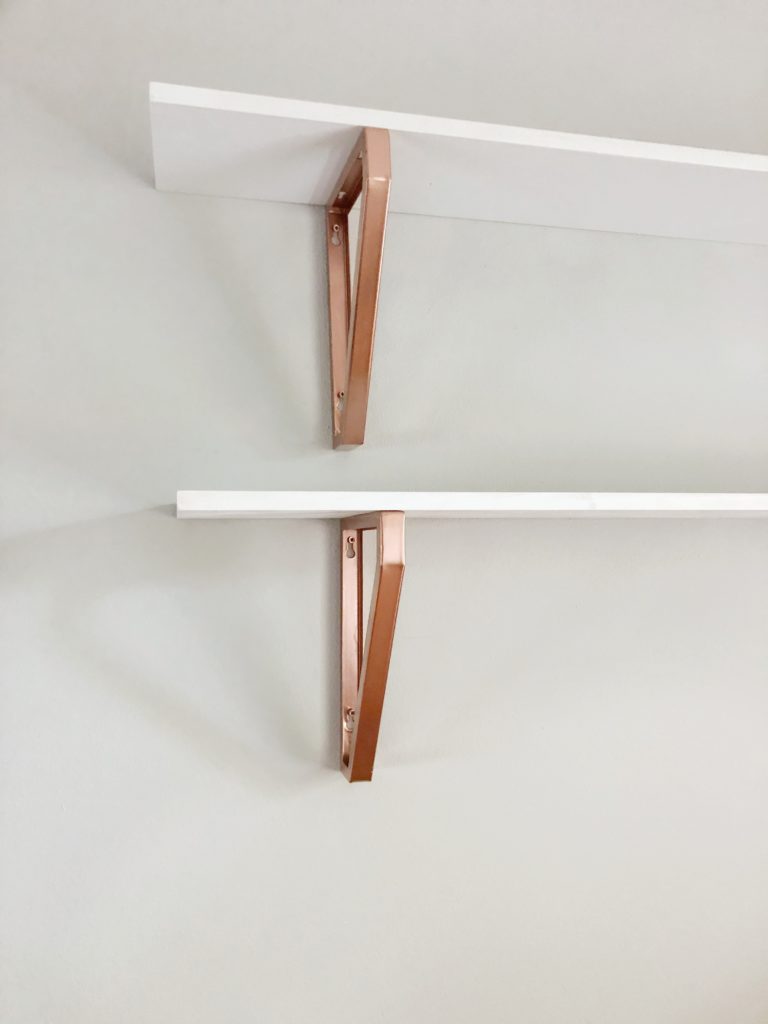
I started these on the same weekend that I redid the thrift store table. I had bought the wood to get things started since I knew I wanted shelf’s but had no idea what sort of brackets to get. I was tossing around the idea of exposed pipe brackets like the Nicole did over on her blog The Soltrop Six but wasn’t fully sold. That’s when I came across this DIY that Becky did over at Cup Half Full. I fell in love with how chic the brackets looked but knew I wanted to mix things up a bit to make them my own.
Like I said before you’ll never believe how inexpensive these shelf’s were to make. Wait for it…….
The brackets were $3 and the wooden shelf was $7.50. I only needed 4 white brackets, 2 untreated wooden shelves from lowes, 2 cans of white spray paint and 1 can of bronze for a total of $39.
Supplies needed:
- Sand paper
- Untreaded shelves
- white/bronze spray paint
- Brackets
- Screws
Like my other DIY projects spray paint is my best friend. Mostly cause you don’t need paint brushes which means you don’t need to clean the paint brushes. Win, win !
I found that two coats of the 2 in 1 white spray paint lookeds best. If your going for a more rustic look one coat might be more your jam. I also did two coats of bronze on the brackets and the scews for a nice even look.
Now onto the hardest part of this DIY project…….Getting these beauties hung on the wall!
Always measure twice and swer once. This will cut down on frustration and unneeded holes in your pretty walls (trust me on this). If you have a stud finder and level use them. However It can still be done if you don’t.
I measured 16 inches from the corner to find my first stud and then used a tape measure to measure from the floor and the ceiling. to make sure I put the wholes in the right place. Again measure twice screw once.
Smile,
Kayla